 Lovable
What you'll build
A clean, responsive marketing landing page — hero, features, a call-to-action and a working contact or sign-up form — deployed to a live URL on your own domain. No front-end code required, though you'll finish faster if you're comfortable nudging details in plain language.
Before you start
You'll need a free Lovable account. The free tier is enough to follow along; connecting a custom domain happens on a paid plan. New to the tool? Start with our Lovable review for the lay of the land.
Step 1 — Describe the page in one prompt
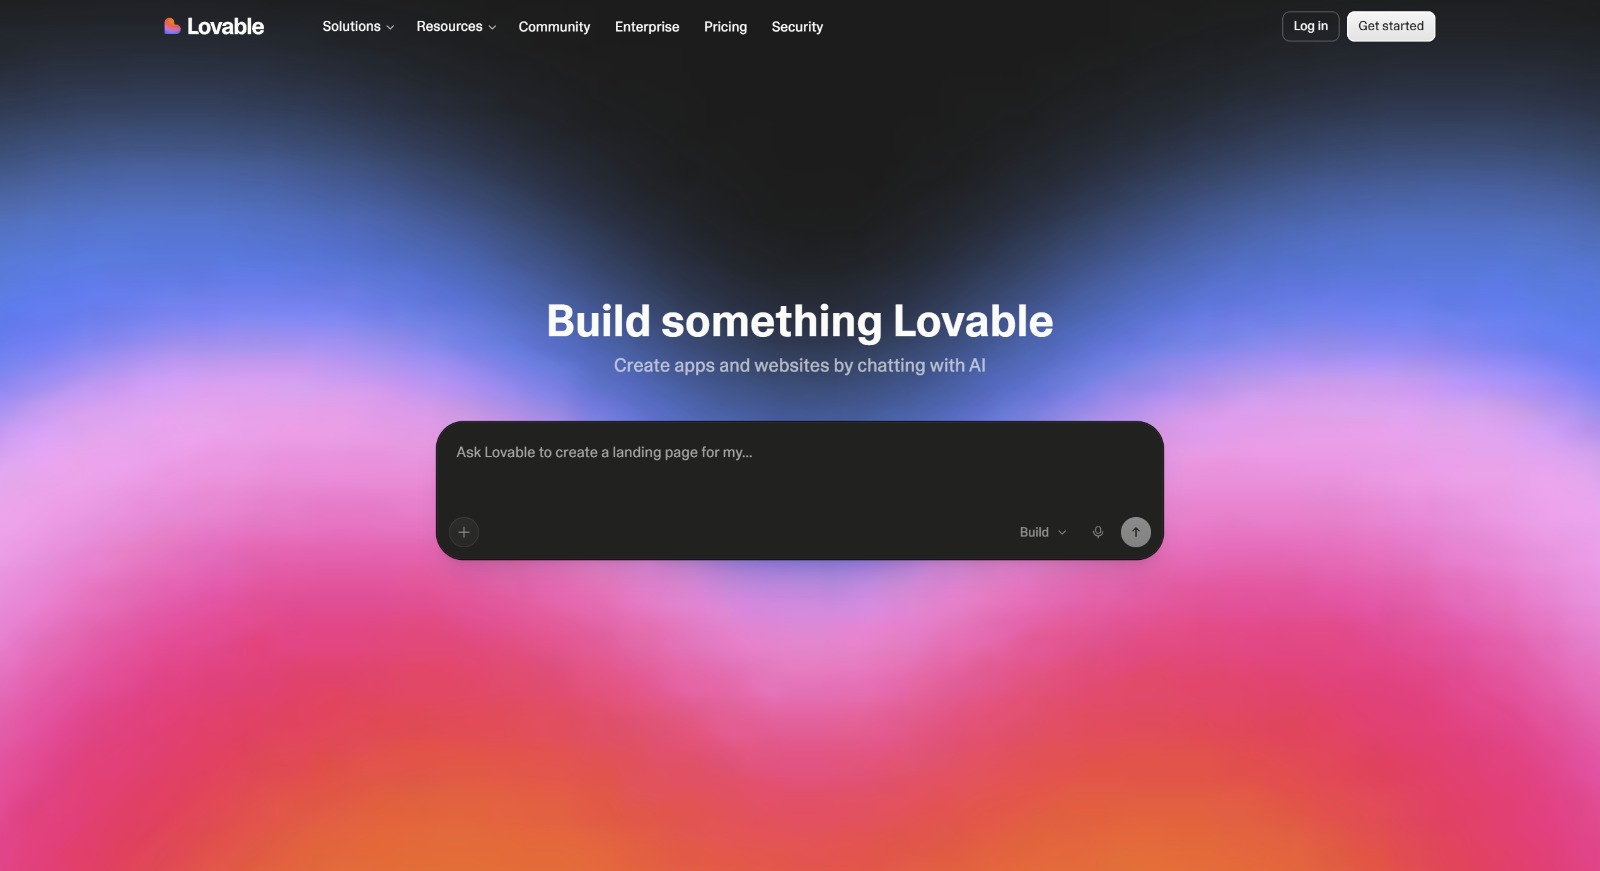
Open a new project and describe the whole page in a single, specific prompt rather than building piece by piece. Include who it's for, the sections you want, and the tone. For example: a hero with a headline and email capture, a three-up features row, a testimonial placeholder, and a footer.
The more concrete your first prompt, the closer the first result lands.
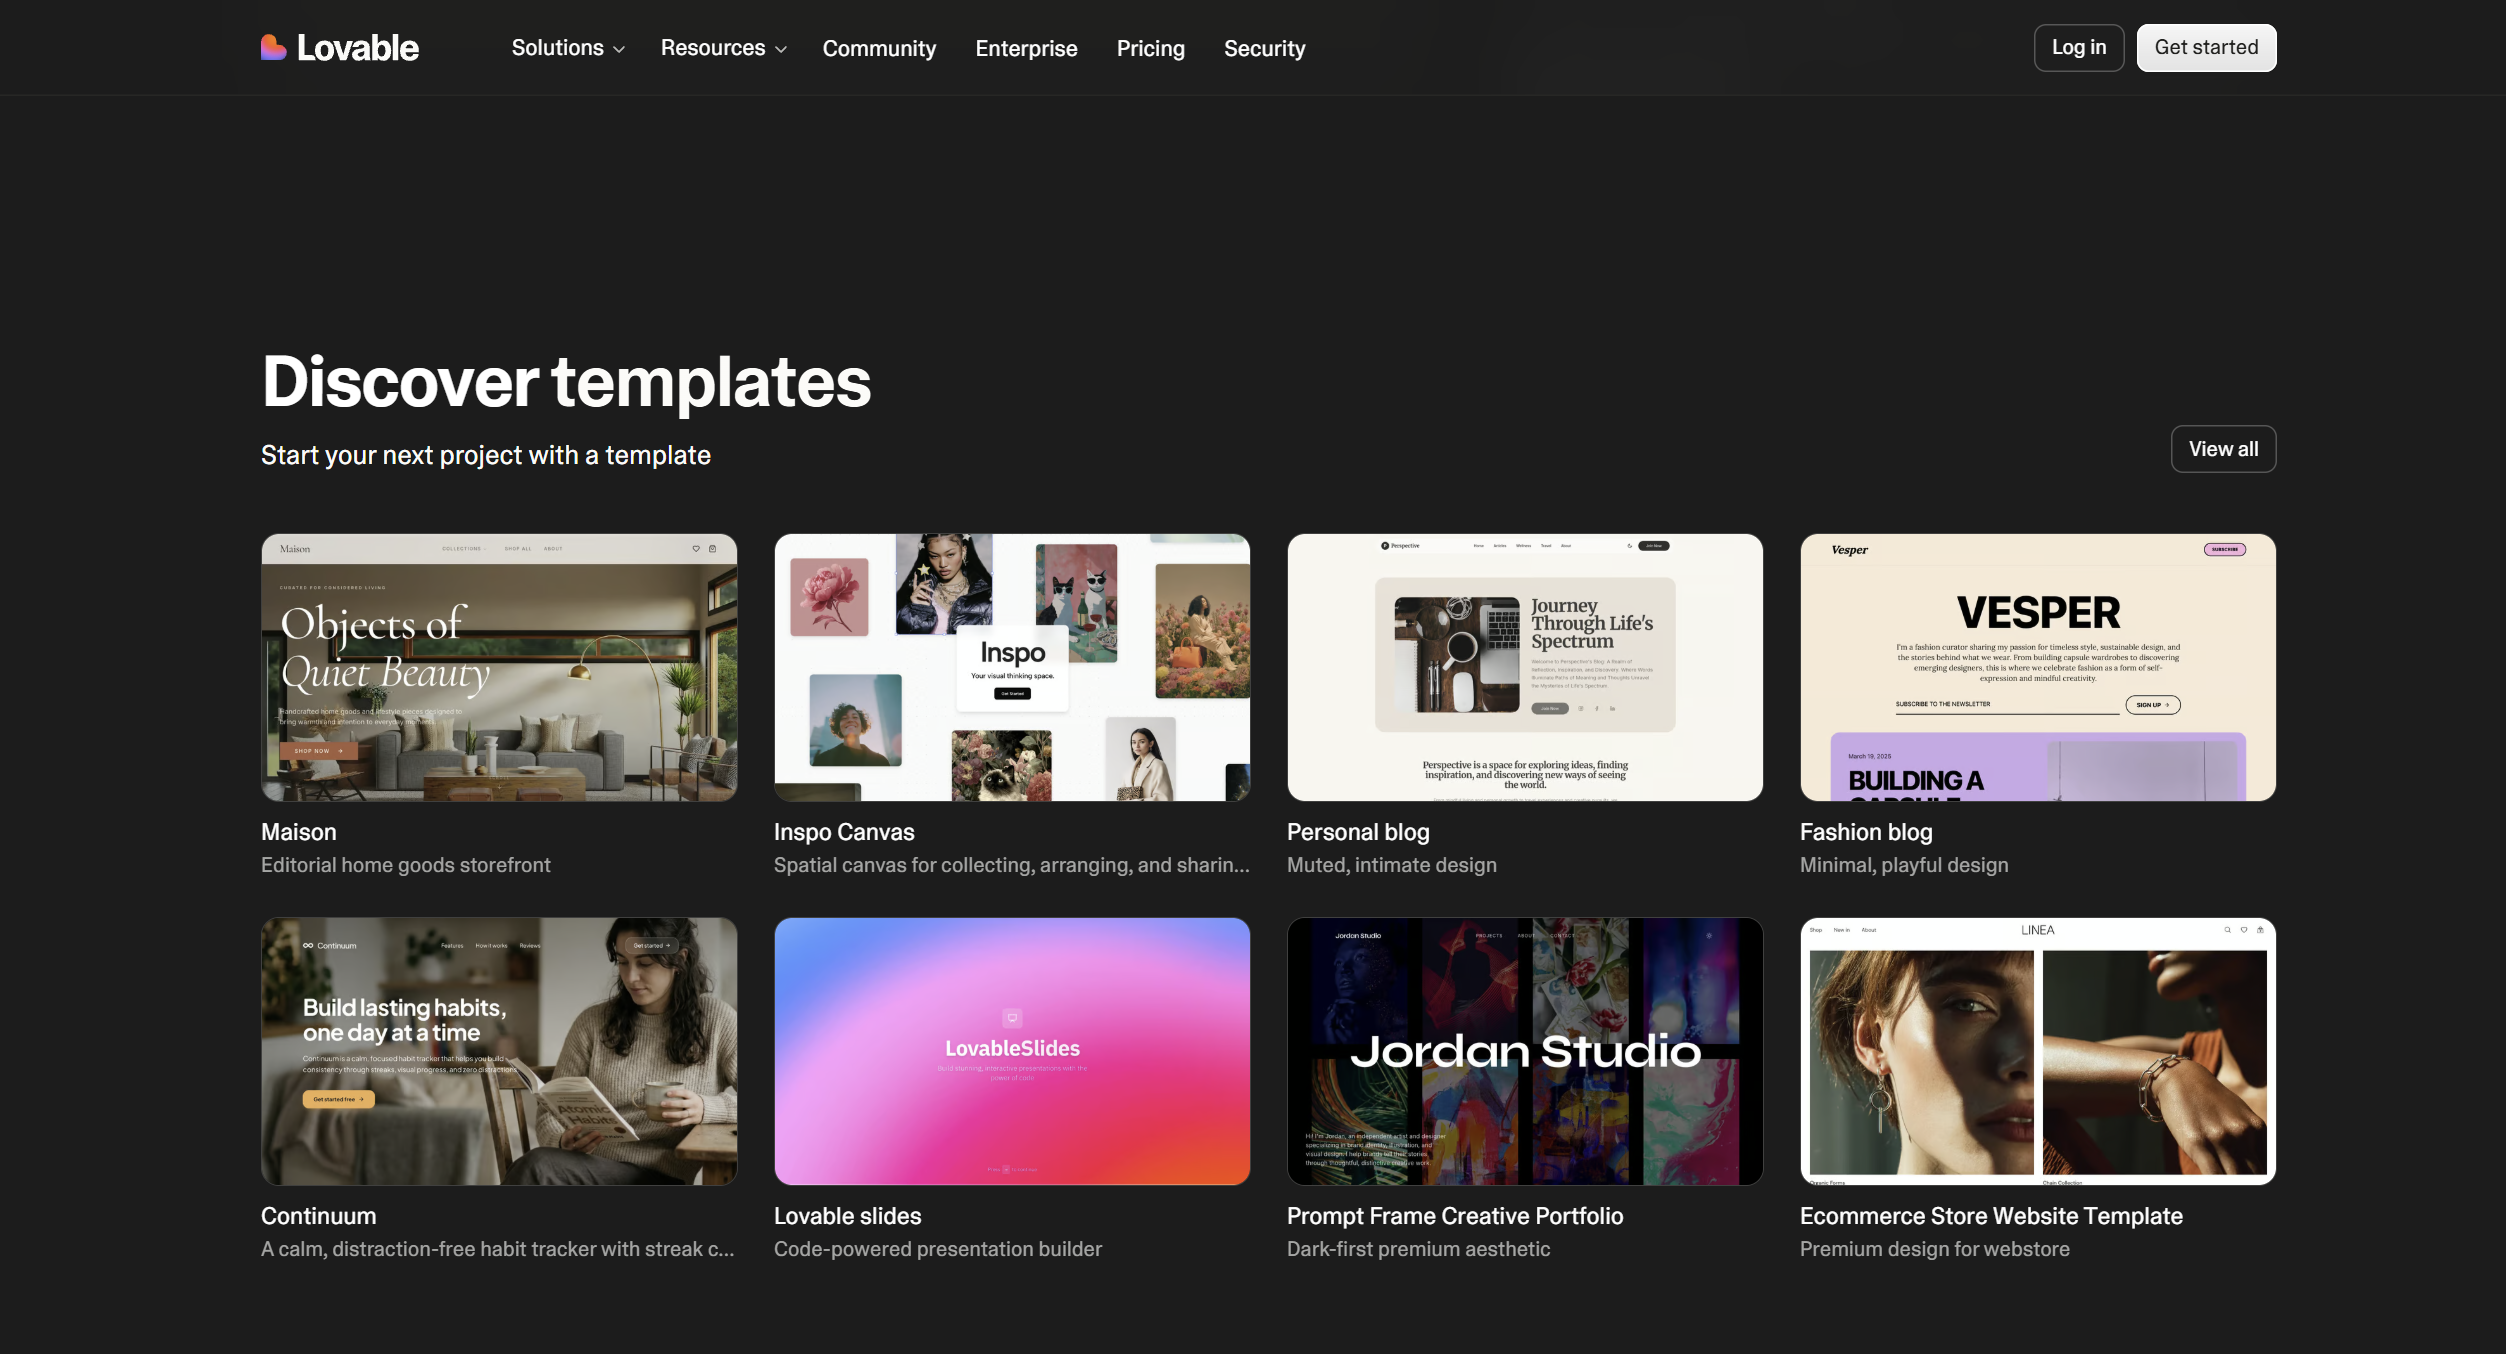
Prefer a head start? Lovable's template gallery is a fine starting point too — pick something close and prompt your way from there.
Step 2 — Refine with small, targeted prompts
Iterate in small steps: adjust the headline, swap the section order, change the colour accent. Use the visual edit mode for copy and spacing tweaks — it's faster and doesn't spend generation credits on cosmetic changes.
Keep prompts scoped to one change at a time; it's easier to see what changed and to undo if needed.
Step 3 — Wire up the form
Ask Lovable to make the email capture actually store submissions (it can back the form with its built-in Supabase database) or to send them to an email/automation tool you already use. Confirm the success and error states behave the way you expect.
Step 4 — Deploy and connect your domain
Hit deploy for a live URL in seconds. On a paid plan, connect your custom domain so the page lives at your own address. Do a final pass on mobile — landing pages get most of their traffic there.
The result
A real, deployable landing page built in an afternoon, with the option to keep developing it — push to GitHub and continue in your own editor whenever you outgrow the prompt-driven flow.
Ready to try it yourself?
Build your landing page with Lovable (opens in a new tab)