 v0
v0What you'll build
A production-ready interface — say, a pricing section or a dashboard panel — generated as clean React with Tailwind and shadcn/ui, then pasted into a real Next.js project and wired to your own data. This is the v0 sweet spot: turning a description or a screenshot into code you'd be happy to ship.
Who this is for
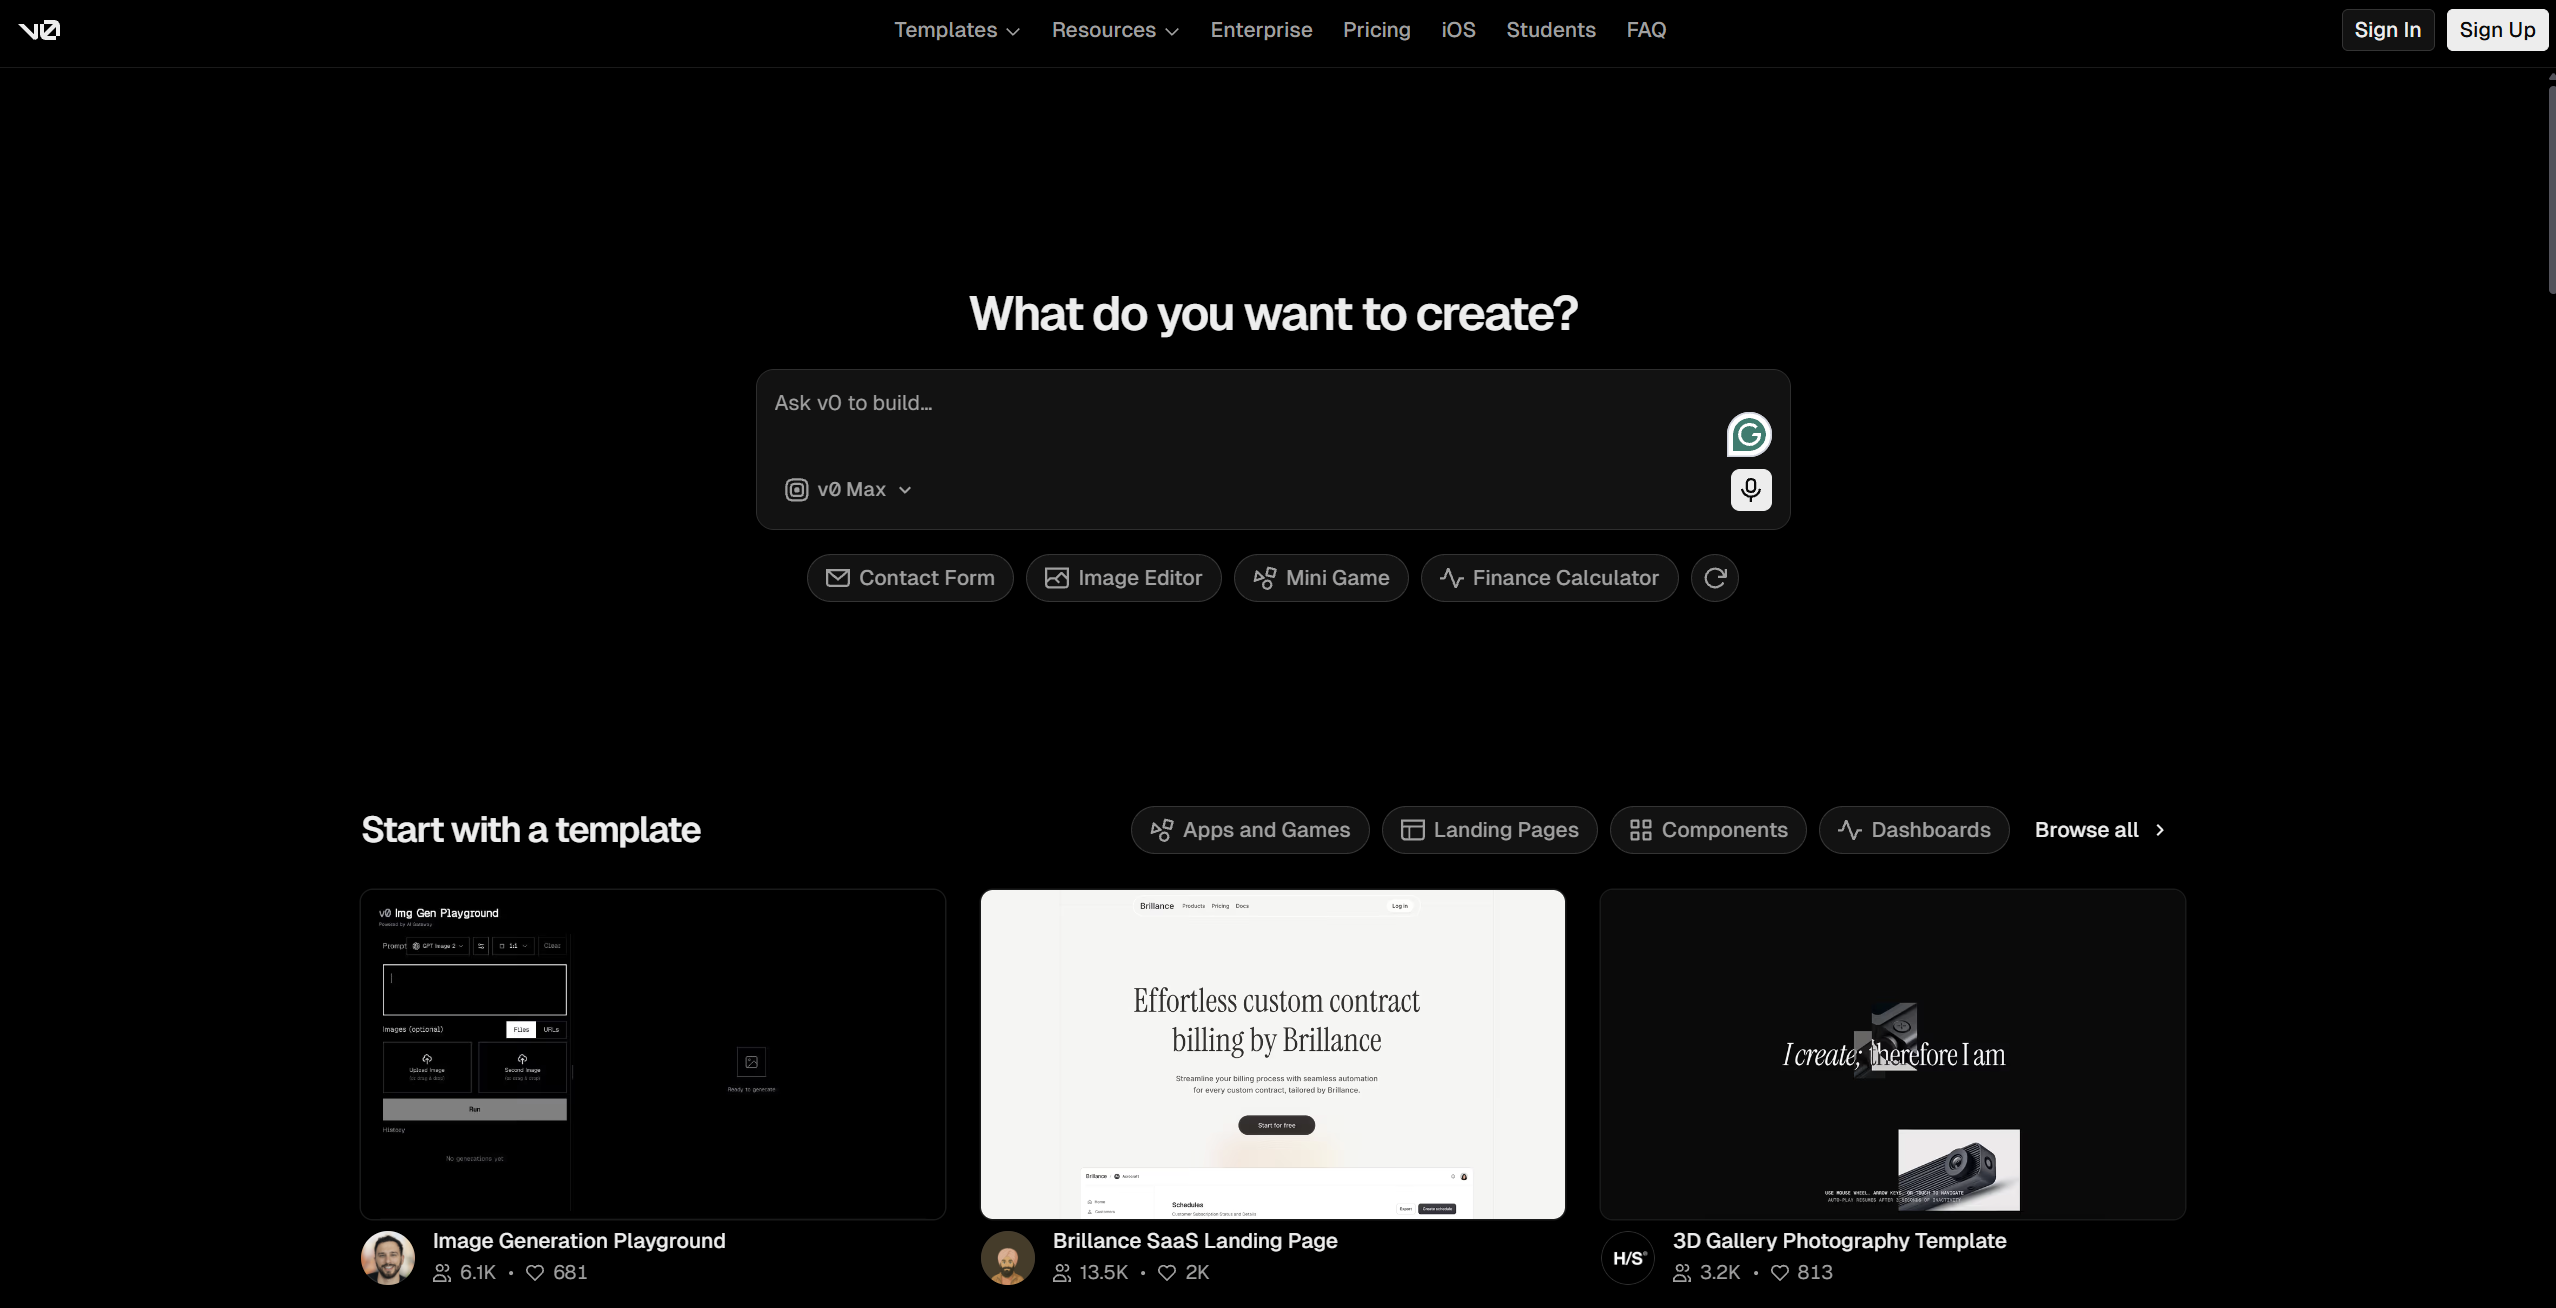
Step 1 — Write a precise prompt
Vague prompts get vague UI. Be specific about the component, its states and its content: "a three-tier pricing section with a highlighted middle plan, monthly/annual toggle, feature lists with checkmarks, and a muted footnote." If you have a reference, paste a screenshot — v0 is excellent at matching an existing look.
Step 2 — Iterate on the generation
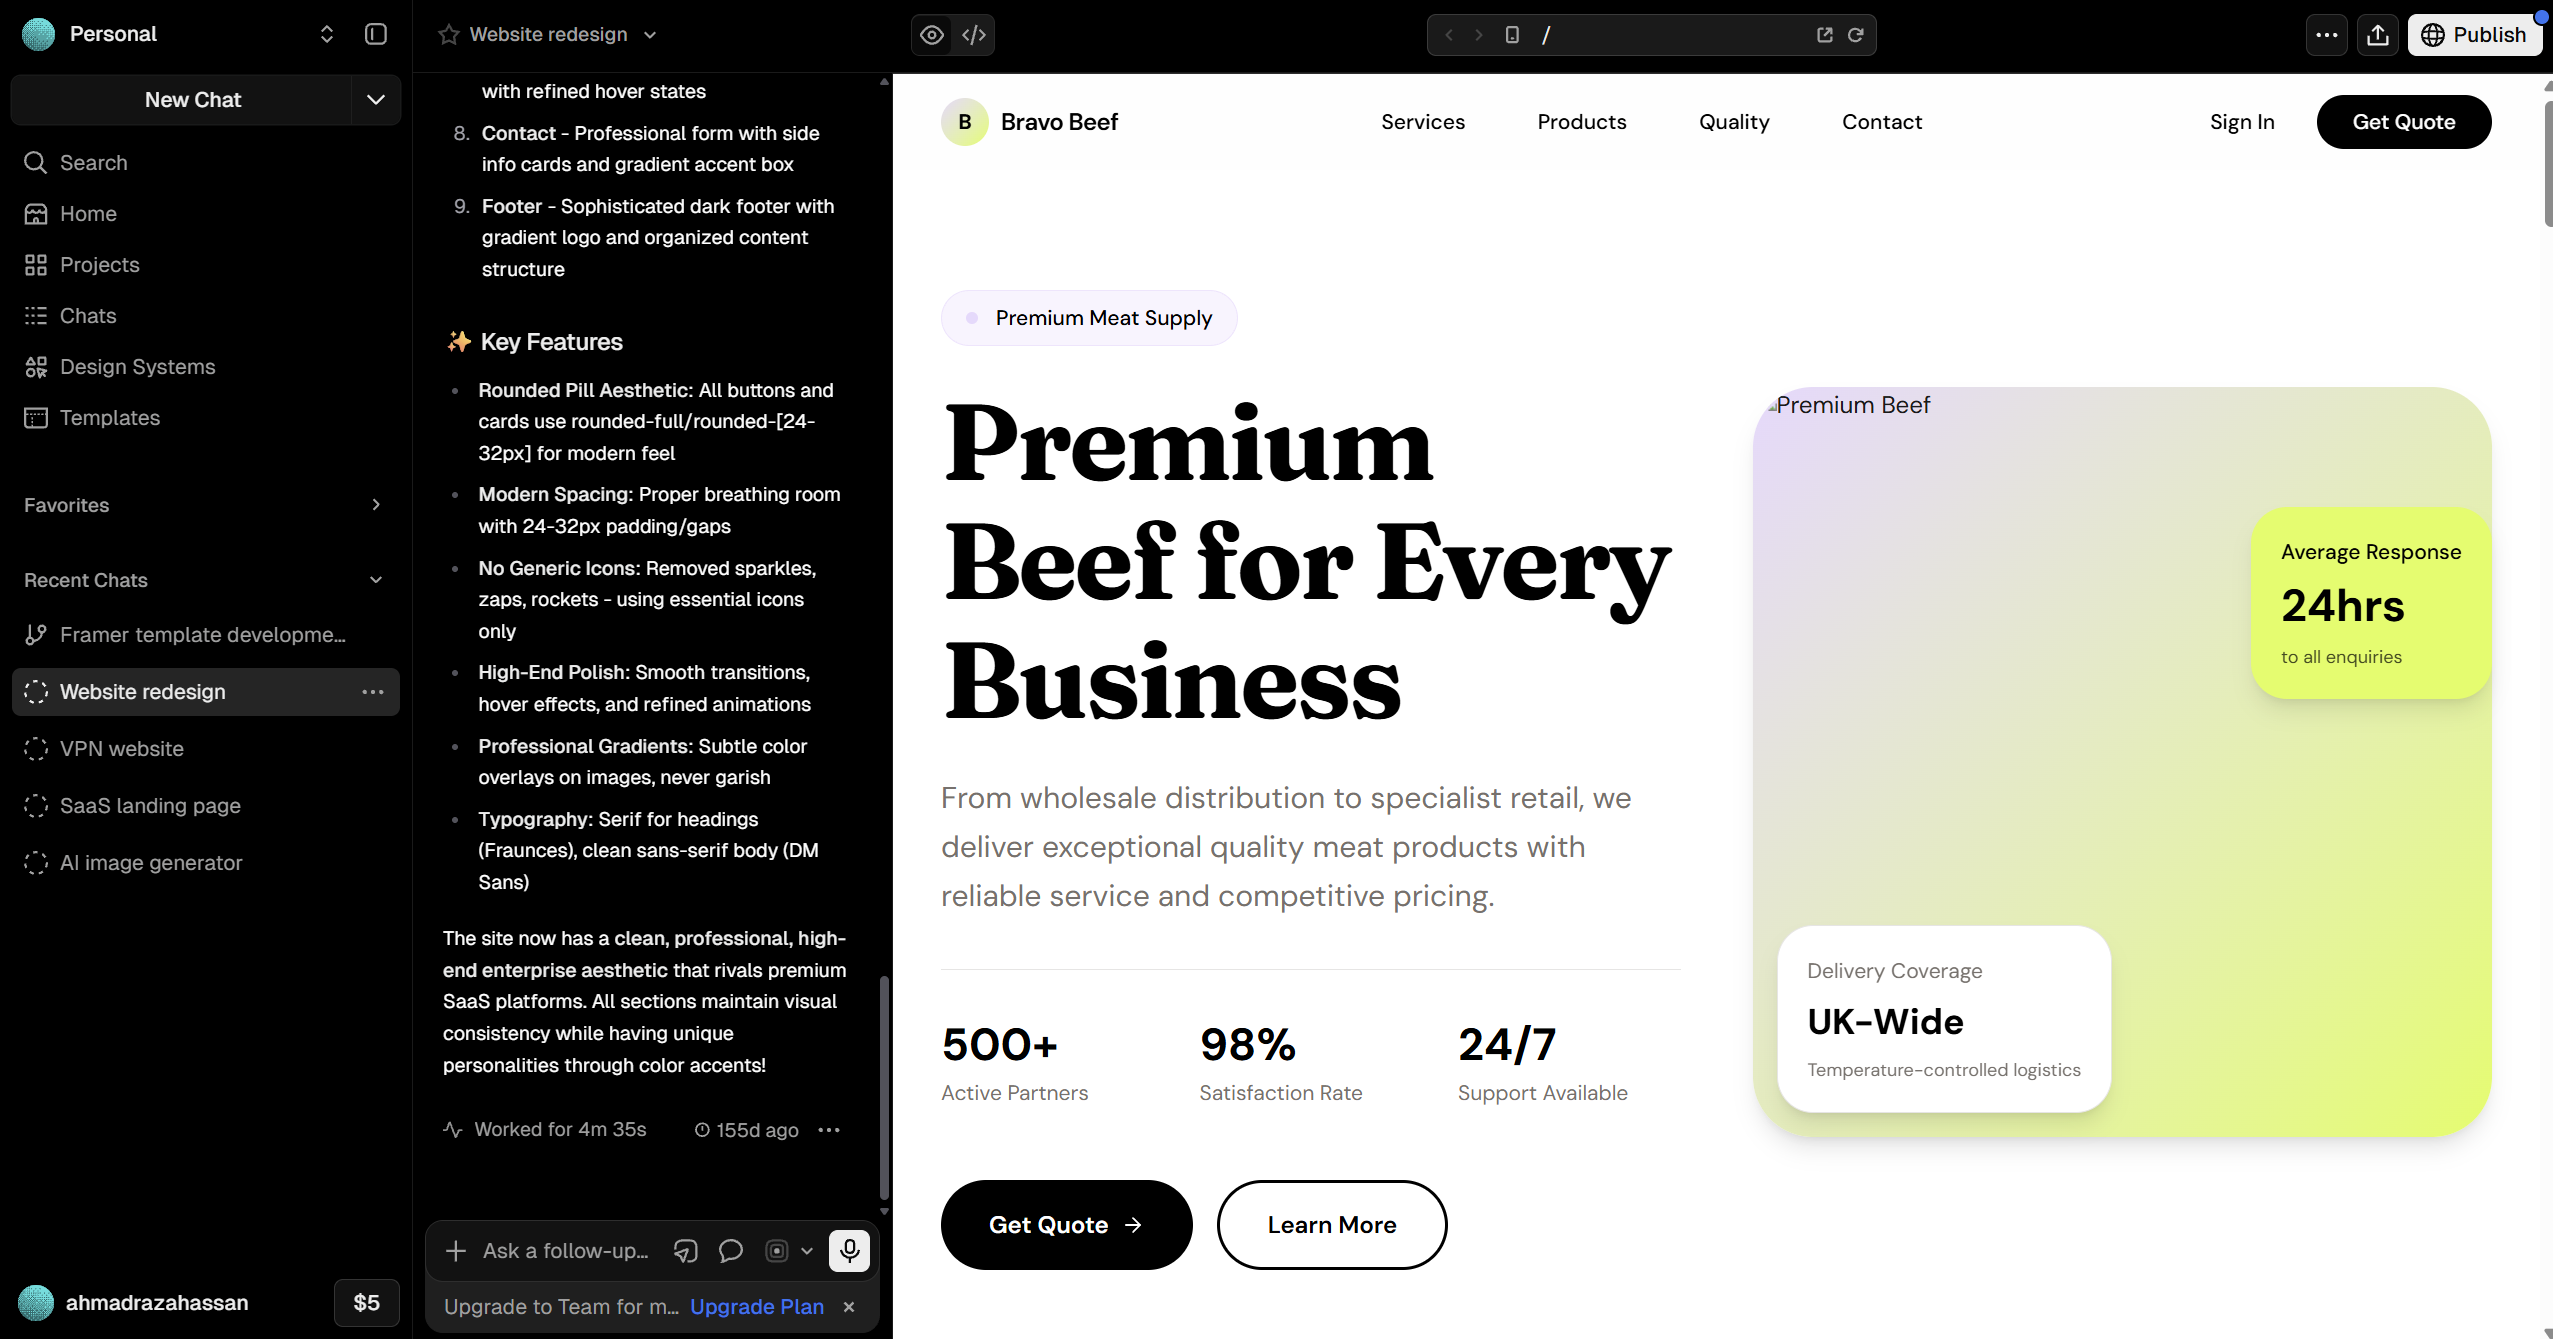
Refine in small follow-ups: adjust spacing, change the emphasis, swap an icon, tighten the copy. Treat it like art-directing — you're steering toward what you actually meant, and v0 keeps the code idiomatic as it goes.
Resist over-prompting cosmetic details you can tweak faster by hand once the code is in your editor.
Step 3 — Bring the code into your project
Copy the generated component into your codebase. Because it's standard React + Tailwind + shadcn/ui, it drops in cleanly — install any shadcn primitives it uses, and the imports just resolve.
Step 4 — Make it real
Generated UI is static by nature. Replace mock content with your data, wire the interactions to real handlers, and connect the toggle or form to your state and backend. This is the part v0 deliberately leaves to you — and it's where your project's logic lives.
Keep it maintainable
Generated components can accumulate. Name them, fold them into your design-system patterns, and refactor shared pieces — otherwise you trade typing time now for cleanup time later.
The result
A polished, idiomatic UI built in minutes instead of hours, living natively in your codebase rather than trapped in a tool — the fastest path from "I need this screen" to a real, data-backed component.
Generate your UI with v0 (opens in a new tab)